Ivy Rose Designs
Ivy Rose Designs

Ivy Rose Designs

Ivy Rose Designs
  • About
  • Blog
  • Bra Services
  • Corsetry Services
  • Finding The Perfect Bra Four Tips From An Expert
  • Home
  • More Bra Options
  • Portfolio
  • Shop
  • Stockists
  • Work With Us
Search
  • Facebook
  • Twitter
  • Instagram

Rachel Haggerty

SoakWash to Protect your most precious garments

Nov 24, 2016 By: Rachel Haggerty

I am so impressed with this no-rinse laundry product called Soakwash that I had to start selling it!

soak-smell-me-set_1024x1024

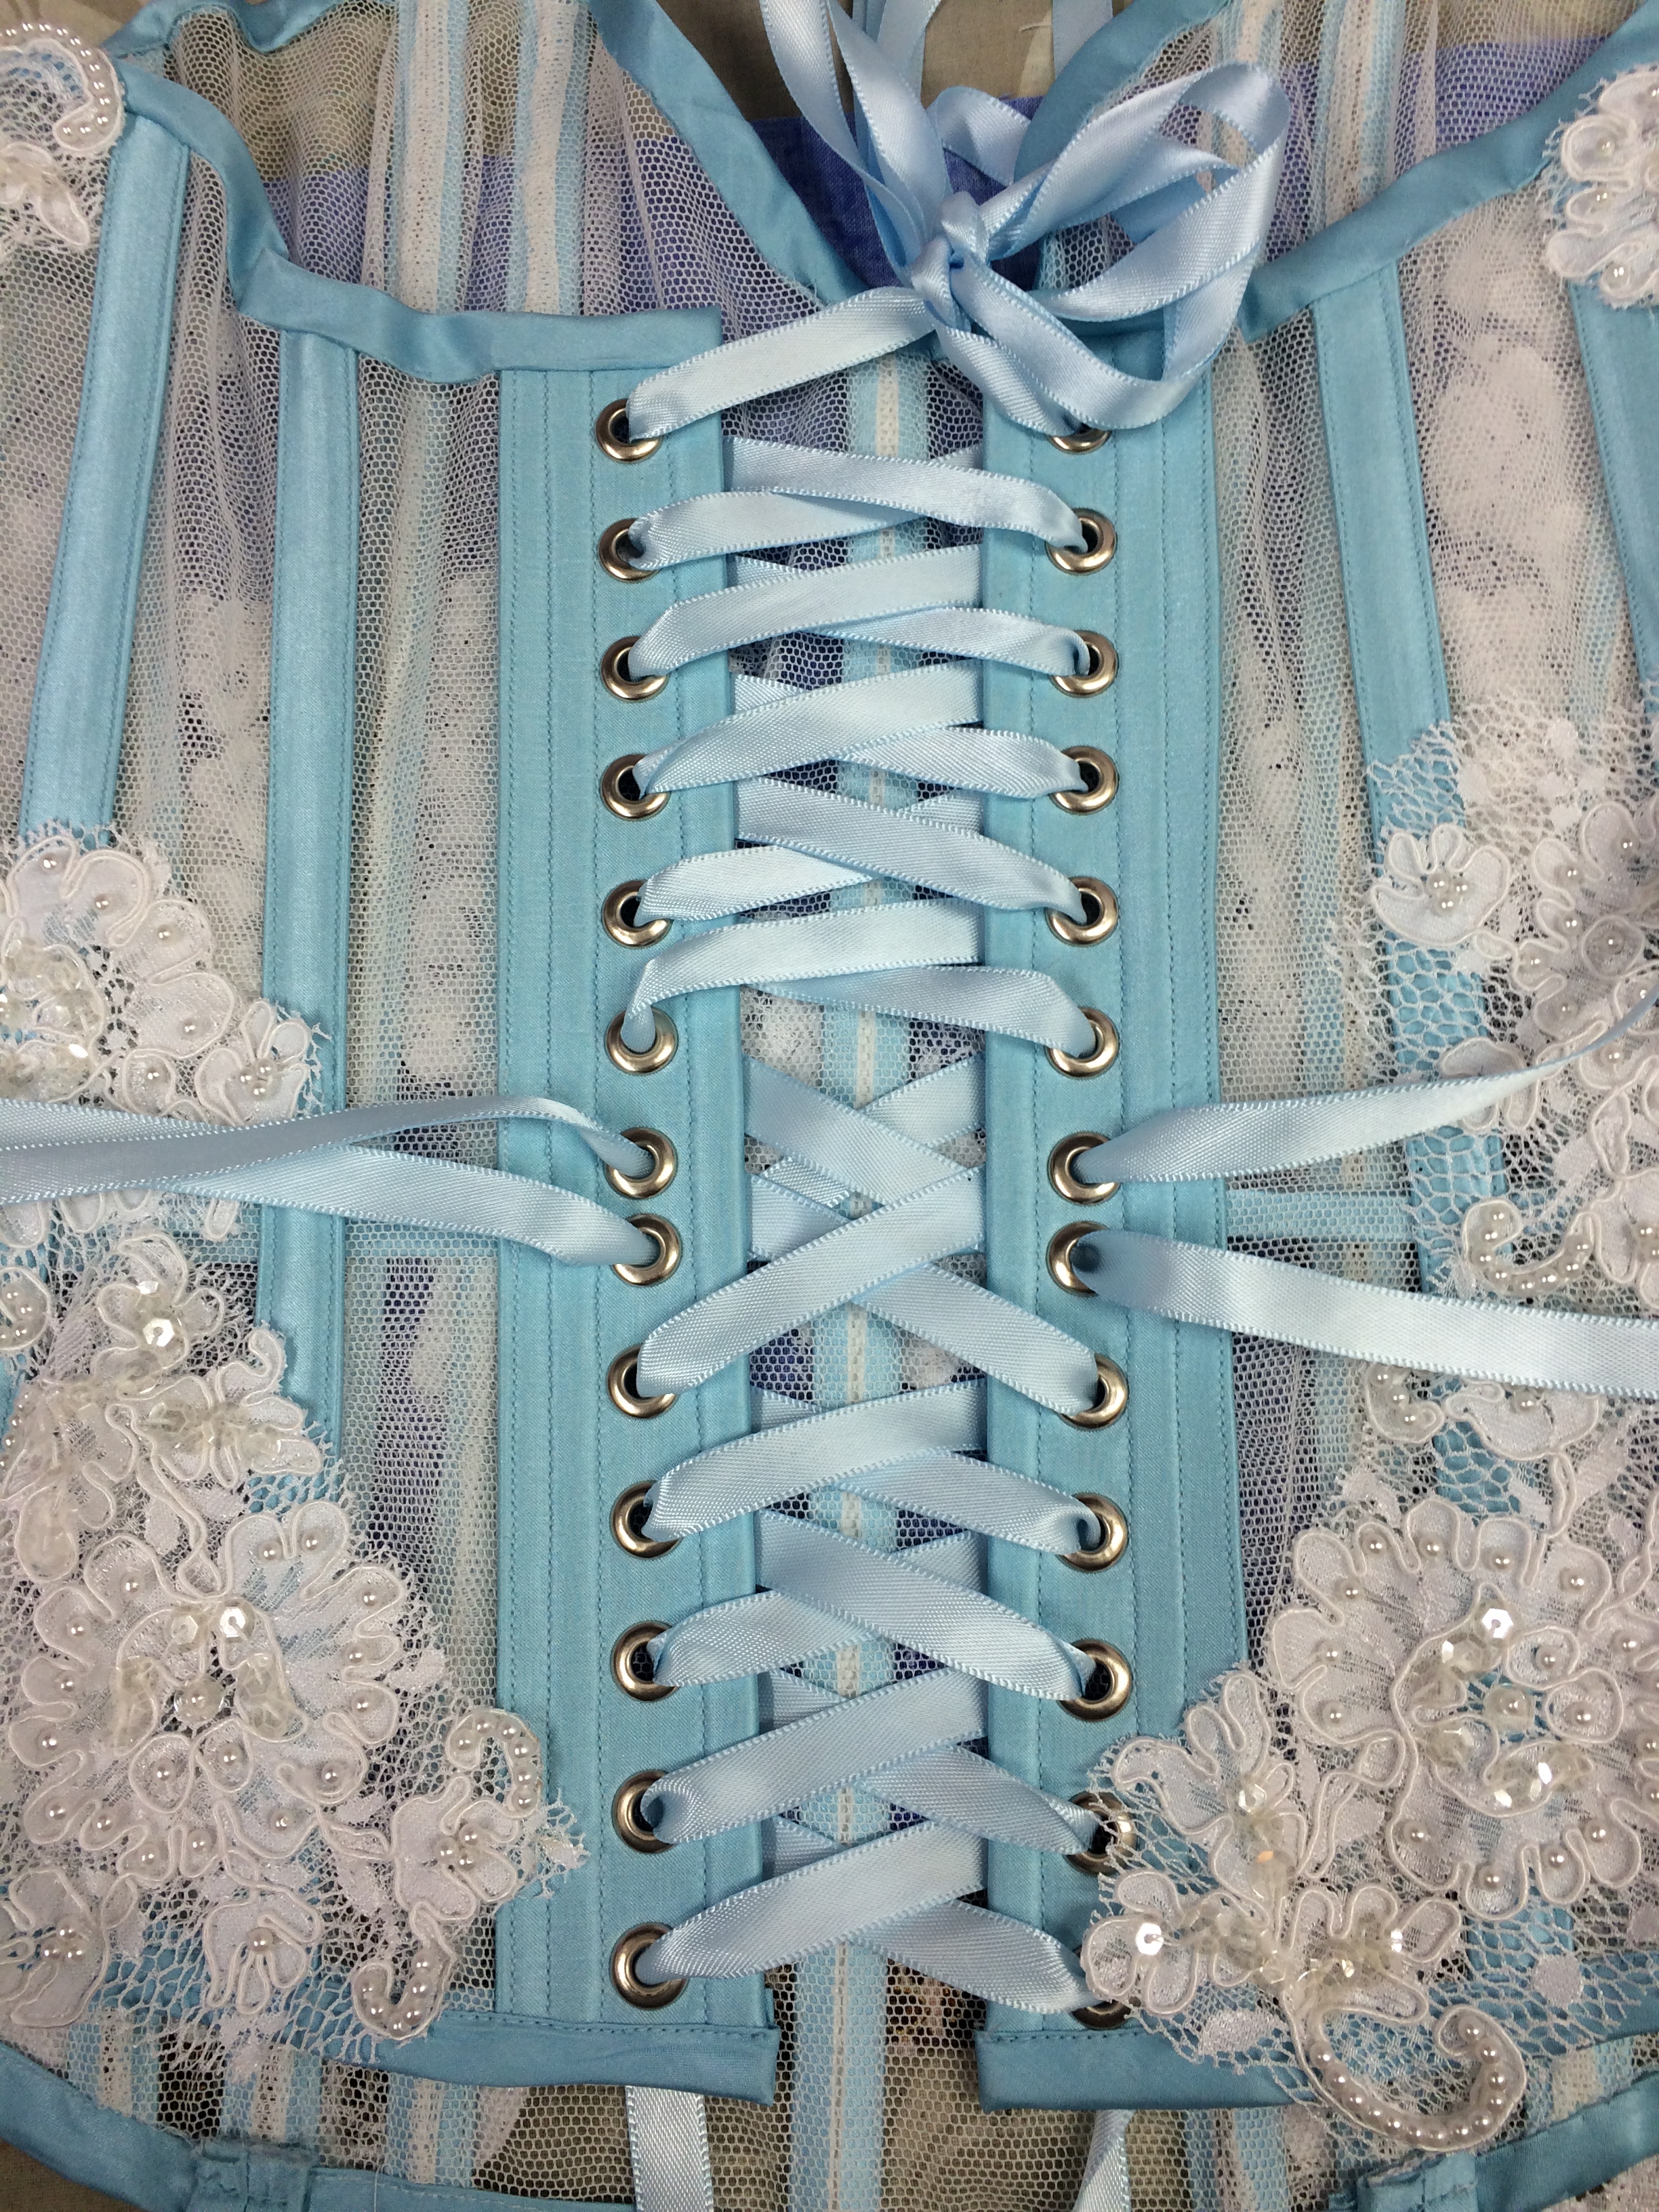
From their packaging, “This rinse-free formula is perfect for washing your laciest lingerie, softest sweaters and all the laundry you love”

It can be used in the sink, or in your washing machine on the gentle or delicate cycle, and works great for dance and yoga wear too!

See what Lena Dunham says about it in her Lenny Letters

Available now, in stock at ivyrosedesigns403@@gmail.com


Continue Reading

Sheer Bridal Corset

Sep 14, 2016 By: Rachel Haggerty
Sheer Bridal Corset

I was reccently contacted to help out a bride who was wanting a sexy corset to surprise her husband on their wedding night. Having found the selection at the lingerie stores severely lacking, she asked around and found me!

We chatted and decided that sheer bobbinet and a lace from my stash, which perfectly matched the lace on her gown, with light blue accent ribbon and silk bone casings would be just the ticket!


sheer bridal corset Ivy Rose Designs Calgary corset and bra maker

1693

sexy corset bridal corset Ivy Rose Designs

Continue Reading

T.S Gilbert Patent Part 2 }{ Calgary Corsetiere

Sep 27, 2015 By: Rachel Haggerty
T.S Gilbert Patent Part 2 }{ Calgary Corsetiere

*previously published at www.foundationsrevealed.com


In my first article, 1873 T.S. Gilbert 6 panel corset, US Patent #141134, I discovered some idiosyncrasies about Victorian bodies when compared to modern ones (mine in any case!) My bust/waist/hip ratio was not anywhere near as dramatic as Gilbert figured it should be! I went step-by-step through adjusting his patent to fit my modern physique – while still retaining the shaping that was predominant during that time period – and came up with a new pattern to work with for constructing my new corset.

I only made one more change to my pattern from the last time you saw it, and that is I deepened the center front about an inch to make a more sweetheart top edge, as I find it more flattering to my shape. I feel I am quite broad across the chest/shoulders so a straight line just makes me look like a line-backer.

I am going to use spot broche coutil for the outer layer of this project – except for embellishments, which I will get into later on. It is just so beautiful and easy to work with! My inner layer will be regular black coutil #74-1140-90 from Farthingales I could have lined it in a cotton as well, but chose not to this time.

Gilbert states that the fabrication of this garment is ideally two layers, thus facilitating the placement of multiple bone channels wherever you want to put them. Seems like a great idea! Two layers of coutil does mean I can put as many channels as I want! He suggests that one of the purposes of this patent was to introduce the idea of an extra bone parallel to the busk, and that one could add more if so desired. I only did one.

Cutting requirements

Spot Broche:

  • one of each pattern piece right side up
  • one of each piece right side down
  • one strip 3¼” (81mm) wide and 1” (25mm) shorter than CF length
  • bias strips 1¼” (31mm) wide

Regular coutil:

  • one of each piece right side up
  • one of each piece right side down

layout

Sewing Instructions

To make the center front modesty panel, I am going to use a different method than I usually use. I normally add 1” to the front edge on both pieces of the left (knob) side of the corset, and use that as my modesty panel. This time, I am making a separate facing and inserting it into the seam.

Take the 3¼” (81mm) strip and fold it lengthwise and right sides together. Stitch across the top and the bottom edges with a ¼” (6mm) seam allowance. Grade the seam allowance. I like to cut the corner off so it doesn’t add excess bulk right in the corner when it’s turned right side out. Turn and press. Lay the facing on the inner piece of the left (knob) side aligning the seam allowance. I accidently cut the facing with a ¼” (6mm) seam allowance instead of the 5/8″ (15mm) I should have, so I had to mentally place it over to correct for that faux pas.

cf and panel

When you sew the inner layer to the outer layer on the knob side, the facing will stick out, like this, and will cover that gap we sometimes get at the center front edge of the corset.

cf busk insertedwaist tapebusk topstitch

I inserted the busk in my usual manner, marking the busk loops with pen, then stitching and backstitching at the edges where each loop would go. You then need to press open, then press for a sharp edge. I inserted loop side of busk into slots, and topstitched both layers together! I made sure to have my waist tape (I used petersham ribbon for this one) stitched into that last step as well. I lined the center of the ribbon up with the waistline.

(Red line is the marking/stitching line. Backstitch at beginning and end of each line of stitching to reinforce the edges that will touch the busk loops.)

busk insertion diagramwaist tape

I did the same on the knob side; align the waist tape with the waistline, mark where the knobs need to come out, use the awl to make the holes where the knobs push through, stab yourself with the awl (optional), topstitch at the edge of the busk, and then take a break.

I used my zipper foot for the busk top-stitching as I can set my needle to be offset and stitch really close to the busk edge.

knob insertionknob topstitch

So far, the construction had been fairly similar to other projects I have done. But we are coming up to the trickier stuff now, so I decided to eat my popcorn and then go to bed…

The next step was to be repeated over and over and over again. Stitch #1 and #2 together for both layers, press, trim seam allowances, and carefully baste the seamlines together while roll-pinning to make the curves permanent and the inner layer not buckle and bulge. (Don’t forget to keep the waist tape in position!) I used many different methods for these steps; by placing the garment over my pressing ham, or over my leg, or just by sheer luck. Once I had the basting in, I stitched “in the ditch” with my machine, and then stitched again, one presser-foot width to the left and the right of the seam. This creates two bone casings. You need to repeat these steps for every seam in the corset.

alignmentover ham

panels 1-2-3inside 1-2-3

Here it is “stitched in the ditch”, but with no bone casings yet… Even being really careful, and certain that I had everything lined up just right, you can see that my “ditch stitching” which should have lined-up on the back side perfectly, in fact doesn’t. If anyone has insight into this, I’d be glad to hear how you do it!

interior interior

Here is what the “in progress” corset looks like, with one layer of spot broche and one layer of regular coutil – seamed, pressed and trimmed. It’s ready to be matched up and basted together, with the waist tape to be sandwiched inside.

seam

Here we’re stitching the next seam. You can see the double bone casings clearly here:

all together no bones

I now realized I messed up, as I forgot to put in the bone casings that butt up to the diagonal ones. I decided I may try to fix that yet… To finish off the back edge, you need to press the seam allowances to the inside and topstitch close to the edge, making sure to catch the inside layer, and the waist tape!

inside all together

Bias binding 1” wide, stitched with a ¼” seam allowance, folded over to the back side and stitched again, finishes the bottom edge. In hindsight (and for the top edge) I will make the binding 1¼” wide so there is more on the back edge to catch. (I missed a few spots, but in the cutting instructions I included the correct width…)

bindingdiagonal placement

diagonal stitchingdiagonal bones

I always insert bones after the bottom binding is on. That way there is a nice, solid ending place.

diag bones in

To make the diagonal channels, I used a piece of scotch tape to guide me in a nice straight line. It is also helpful that it can be taken off and reapplied until the angle looks right. Painters tape works well too. I should have (again) checked the patent sketch to see exactly where Gilbert had drawn these channels, as he had them right alongside the seam between piece 5 and 6. These channels are one presser foot wide, and there are five of them, as in his sketch. I did decide in the end to remove these ones and make them correctly, as aesthetically it was the right thing to do. It looked heaps and gobs better when I redid it. Buuut… I don’t have photos of it. You will just have to trust me on that, and if I ever get back into my flood-ravaged home, and still have anything left, I will most certainly update you!

Here are the only pictures I have of the finished product:

finished corsetfinished corset

finished corsetfinished corset

I have been planning this project for five years, and had hoped to be wearing it at our other business’s national convention in Nashville TN this August. I was working on the Swarovski hot-fixed ‘SnapOn Tools’ logo in two shades of red (Siam and Light Siam) that I was going to appliqué onto the hip area (so I could remove it and make the corset more normal). Alas, I guess it is serendipitous that last time our convention was to be in Nashville there was a flood there, so it got cancelled, and then this year, I got flooded, so I lost the corset. I guess it just wasn’t meant to be.

All in all, I had created a well-fitting corset that supported me and accentuated in the way I wanted it to. I also learned that one should never say “It will never flood at my house”, and perhaps I will store all my fabrics that I stockpile in sealable tote boxes from now on…

Update

It was rescued! During the flood cleanup, I found it, and cleaned it using Oxiclean, a lot of oxiclean! I lost the pattern though… figures, since it was the first well fitting corset I’ve made for myself… During the Oxford Conference on Corsetry, Jeri Rossiter took these photos.

1873 Gilbert Corset, Photo by Jeri Rossiter  1873 Gilbert Corset, Photo by Jeri Rossiter  1873 Gilbert Corset, Photo by Jeri Rossiter  1873 Gilbert Corset, Photo by Jeri Rossiter

Continue Reading

Not Only Corsets! }{ Calgary Corsetiere

Sep 7, 2015 By: Rachel Haggerty
Not Only Corsets! }{ Calgary Corsetiere

I enjoy trying new things, and am always learning. Here is one of my recent explorations into the world of underwire bras. This is modified from the Classic FullBand pattern from PinUp Girls, purchased at Bra Makers Supply in Ontario. The materials are from there as well. I discovered them through a Craftsy class I started watching, and it’s amazing!

IMG_1248IMG_1251IMG_1250

Attempt number three, with the first one being too short in the band, and the second too large in the cups and bridge (the part that the cups fit into) and here’s hoping the delivery goes well!

Continue Reading

Victorian Corset 1873 }{ Calgary Custom Corsetiere

Aug 4, 2015 By: Rachel Haggerty
Victorian Corset 1873 }{ Calgary Custom Corsetiere

1873 T.S. Gilbert 6 panel corset, US Patent #141134

I absolutely LOVE this pattern! I love the vertical strip over the bust, I love the diagonal boning in the back! I love it, I love it!

http://www.google.com/patents/US141134

When I first looked at this patent, I thought, Oh! This will be fantastic for the more bodaciously endowed in the bosom area, and those with more “junk in the trunk”. The major curves in the bust area of panel one and three indicate that there is a lot of space there, and in the patent Gilbert implies that the seamlines in the back aid in adjusting for different size hips and buttocks.

As I am a 34g bra-wearer, I was excited! (I know there are many ladies out there much more endowed than I but it still seems big to me…) I have had good success with using the Foundations Revealed tutorial for drafting corsets, but this will be my first attempt at adapting a historical patent pattern to fit me. (I’m making it for ME!!!) Please join me on my journey!

I envision the original silhouette of this corset to be the foundation for outfits like these.

1 red dress 2 wedding dress 3 worth gown 4 two bustled ladies 5 pink bustle gown 6 two ladies 7 three ladies

Smooth lines, lifted and supported but not overflowing bosom, elegant…

Getting that pattern onto paper

I have recently acquired CorelDraw and had my friend’s mom, a graphic designer, give me a few tips that I will share with you. One of the problems I had in using the program is that I had NEVER used anything like it before, and so when reading the instructions, I didn’t know what they were talking about. Therefore, I couldn’t do what they were asking me to do because I didn’t know how to ask for what I needed. “How do I cut this shape in half and keep this corner attached while swinging this section to the left?” apparently isn’t a good question. I now know how to do that! So here goes.

First, save the patent to your computer.

Second, open your CorelDraw program (I am only going to talk about CorelDraw, but I assume that the process is similar for others)

Under “File” open the tab for “import”

This will take you to your folders on your computer. Choose the file that has the patent in it. Import as “curves”, not “text”

http://www.ivyrosedesigns.ca/wp-content/uploads/2015/08/IMPORTING.wmv

Now we need to trace each of the pattern pieces and place them on a separate page. This is one spot I kept getting stuck on.

Here are screen shots of the steps we need to take, and then I will do a video so you can see it in action!

Draw the outline of the pattern piece using the “2-point line tool”. This tool creates a straight line starting at your first click and ending when you let go of the mouse button. If you then click again where you ended the first line, you can keep the following lines all connected as one unit. This is important because then you can “pick up” and move the whole pattern piece as one unit instead of a multitude of random lines.

8 importing 1 10 tracing 2 11 tracing 3

The red lines are the ones I drew using the 2-point line drawing tool.

Now we need to change those straight lines into graceful curved lines to match the original pattern piece. We do this with the “shape” tool.

Reclick on the line you have just converted, holding down the left mouse button, and drag the line until it has the correct arc you are trying to achieve. Let go of the left mouse button.

Do these steps over and over and eventually you will get this! All the pattern pieces reproduced in a format that is able to be manipulated to your heart’s content!

12 completed trace

VIDEO Tracing

http://www.ivyrosedesigns.ca/wp-content/uploads/2015/08/IMPORTING.wmv

The next step is to walk your seamlines to ensure that they are the same length. I used to do this by holding my pattern pieces up to a window and turning them to match up the seamlines. Or, I would hold my tape measure on its edge and measure one piece, then the other, and add or subtract length to make them the same.

15 old school walking 3 14 old school walking 2 13 old school walking

But with the graphics possibilities of this program, I can do all that on the computer and not waste paper!

http://www.ivyrosedesigns.ca/wp-content/uploads/2015/08/IMPORTING.wmv

Select the pattern piece you want to be moving. (we’ll call it A)(left click on piece)

Move it so either the top or bottom corner is aligned with the corresponding corner of the adjacent pattern piece.(Let’s call it B) (left click and drag)

Double-left click A, and you should see curved arrows at each corner, and a circle, the center-of-rotation mark we’ll call the pin, in the middle of piece A. This indicates you are in rotate mode.

Left click on the pin, and drag it to the matching corners. Drop it there.

Now move your mouse to one of the curved arrows, left click and hold, and move the mouse. Piece A will rotate around the pin. Move it until A and B are aligned over top of each other for a section of their seamlines. Let go of left mouse button.

Left click on the pin, and move it to where the seamlines intersect, and drop it.

Repeat these steps until you reach the end of the seamline.

Hopefully what you will see at the end of this is that the bottom corners match just like the top ones did. If not, you will need to adjust one or both lines so that they DO match.

http://www.ivyrosedesigns.ca/wp-content/uploads/2015/08/IMPORTING.wmv

By simply using the “shape” tool we are familiar with, we can easily adjust lengths of lines to perfectly match. We can also change lines to curves, or curves to straight lines, and this all makes drafting so much easier and more fun for me!

Simply select the piece you want to adjust, select “shape” tool, and then click on the node (corner, spot) you want to move! And move it! No erasing, no taping!

Now that all the pieces are traced off, and the seamlines are the correct lengths, I need to make this thing fit me. I decided that I should really make it up exactly as it was designed, just to see what the proportions are like. I know for a fact that my body isn’t the same shape of the “fashionable silhouette” for the 1890’s. As my friend so delicately put it when I sent her a copy of the photo of me laced into the first mockup “You know, ummm, you do have a waist, it’s just not, ummm, as small as it might have been back then when ummmm, bodies were corsetted and trained a bit… And, didn’t they sometimes pad the bust and butt parts of their corsets?”

I moved the pattern pieces around on the virtual paper and aligned them up about where the waist should be, as best as I could tell. From the patent description, it states that the diagonal piece of the center back panel is“extending inward to the middle of the back, at or below the waist” so I used that as a starting point, and sort of guessed for the rest. Modern logic tells me that the waistline should be a straight line from front to back, but I just couldn’t get that to work, and then thought about my pants that are higher in the back, lower in the front, and just went with it. Then using the “parallel dimension tool” I measured the length of the combined pattern pieces.

16 measuring waistline

My waist is around 39”. Since we traced these pieces essentially off of a 8 ½ x 11 piece of paper, I wasn’t expecting to be close. I was right. The waist measurement was 5.47”…. As I only measured one side of the corset, the total if I were to make this up as is would have been about 10.5”.

So…. Adjustment needs to be made. I figure that 31” might work for me, and so I looked at the screen and noticed that when I have all the pieces selected, there is an adjustable “scale factor” box…

17 scaling 1

If I have all the pieces selected, and change either of those measurements, the pattern increases or decreases in size accordingly!

Decrease the “x” factor by 50%, leave the “y” factor at 100% has the pieces keep the same height, but decrease in width by 50%

18 scaling 2

Leave the “x” factor at 100%, decrease the “y” factor to 50% shows that the pieces keep the same width measurements, but are half the height.

19 scaling 3

Increase both x and y to 200% has the entire project double in size.

20 scaling 4

So if you notice the rulers along the top and lefthand side the work area, you can see that this isn’t like “zooming” where the actual dimensions aren’t affected, but actually makes the pieces a different size. So I increased the size to 300%, thinking “300% x 10.5 sounds like it might fit!” Of course, this makes all the dimensions 300% bigger.

So I saved it and sent it to the print shop to be printed on 36×24” paper (I ‘m too lazy to tape together all the 8 ½ x 11 sheets if I printed at home, and I’m out of toner…

An hour later, as I’m driving in my car, I was thinking to myself, “Self, you didn’t measure the bust or hips on that thing. I be they’re gonna be HUGE.”. Oh well, I wanted to mock it up as original anyway.

I made the mockup of one layer of coutil, with 5/8” seam allowances. I used the seam allowances as casings. It went together very nicely, and is waaaaaay to big in the bust and hips!

21 original mockup front 22 original mockup side 23 original mockup back 24 original mockup angle

So, it was very obvious I had some changes to make. I think the back from the waist up is fine. It might be a bit low, but I won’t make any changes in that until I make the rest of the changes…

I enlisted the help of a friend to try to pin out the excess and draw on the mockup the changes I wanted to make.

I took a BIG chunk out of the bust, and all from pieces 1 and 3, leaving the piece 2 with parallel edges as intended. I took some off of piece 3 hip between 2 and 3. And I took a pile from between 4 and 5.

Here are the original pattern pieces with the changes marked out but not cut yet. You can see how much too big it was! Hilarious!

25 changes 1 26 changes 2

I am reasonably happy with the new mock-up, but there are still a few things I want to address.

27 secong mockup front 28 second mockup angle 29 second mockup side 30 second mockup back

  • the bustline seems to flatten rather than lift and flatter my figure.

  • I want to correct the wrinkles under my breasts as well

  • I don’t like the lack of definition on the side view regarding the underbust to waist area.

  • I would like a more dramatic hip to waist ratio

  • I think that piece 2 should be angled more across my body rather than going straight directly over my nipple point, so want to adjust the pattern so piece 2 is closer to center front at the bottom, angling slightly outwards at the bustline

The pattern changes I made include

  • adding to the side hip and back hip to allow for more flesh/less compression

  • removing from piece 1, adding to piece 3 a wedge shaped chunk below the waist to shift the design line of piece 2

  • following the Foundations Revealed tutorials for full bust adjustment and for pushup design adjustments, I raised the bust line and flattened the line a little from the nipple line down towards the ribcage, and raised the top edge a bit. I also added a little room in the bust.

  • I also decided to doublebone each seamline of the next mock-up for more support.

Now I’m happy!

33 third mockup front 32 third mockup angle 34 third mockup side front angle 36 third mockup back

In my next article I will document the actual creation of this awesome patent! Please follow along!

Continue Reading
Ivy Rose Designs
  • Facebook
  • Twitter
  • Instagram
Copyright © 2015 Ivy Rose Designs.